I have been an avid tinkerer with home pc’s. I enjoy building and configuring them. Naturally, as LLM’s become a developer necessity, I wanted to build an economical yet a performant LLM server for my home-lab.
Requirements
Hardware
My requirements were quite basic:
- A minimum of 16GB VRAM (preferably Nvidia)
- A minimum of 16GB RAM
- A minimum of 6 cores / 12 threads Ryzen CPU
- A motherboard with 2 PCI GPU slots (does not need to be 16 lanes PCI)
- A minimum of 600 watt power supply
- A wi-fi smart-plug with scheduling capabilities
- A motherboard which support power-on after power restoration
Software
- Linux OS with a long-term support and used by a lot of users
- Linux OS with Tailscale native support (systemd)
- Linux OS with easy installation of Docker, Nvidia Container Toolkit and Cuda Toolkit
- Linux OS with OpenSSH server to manage server remotely
- Linux OS with crontab to schedule running of scripts
Server
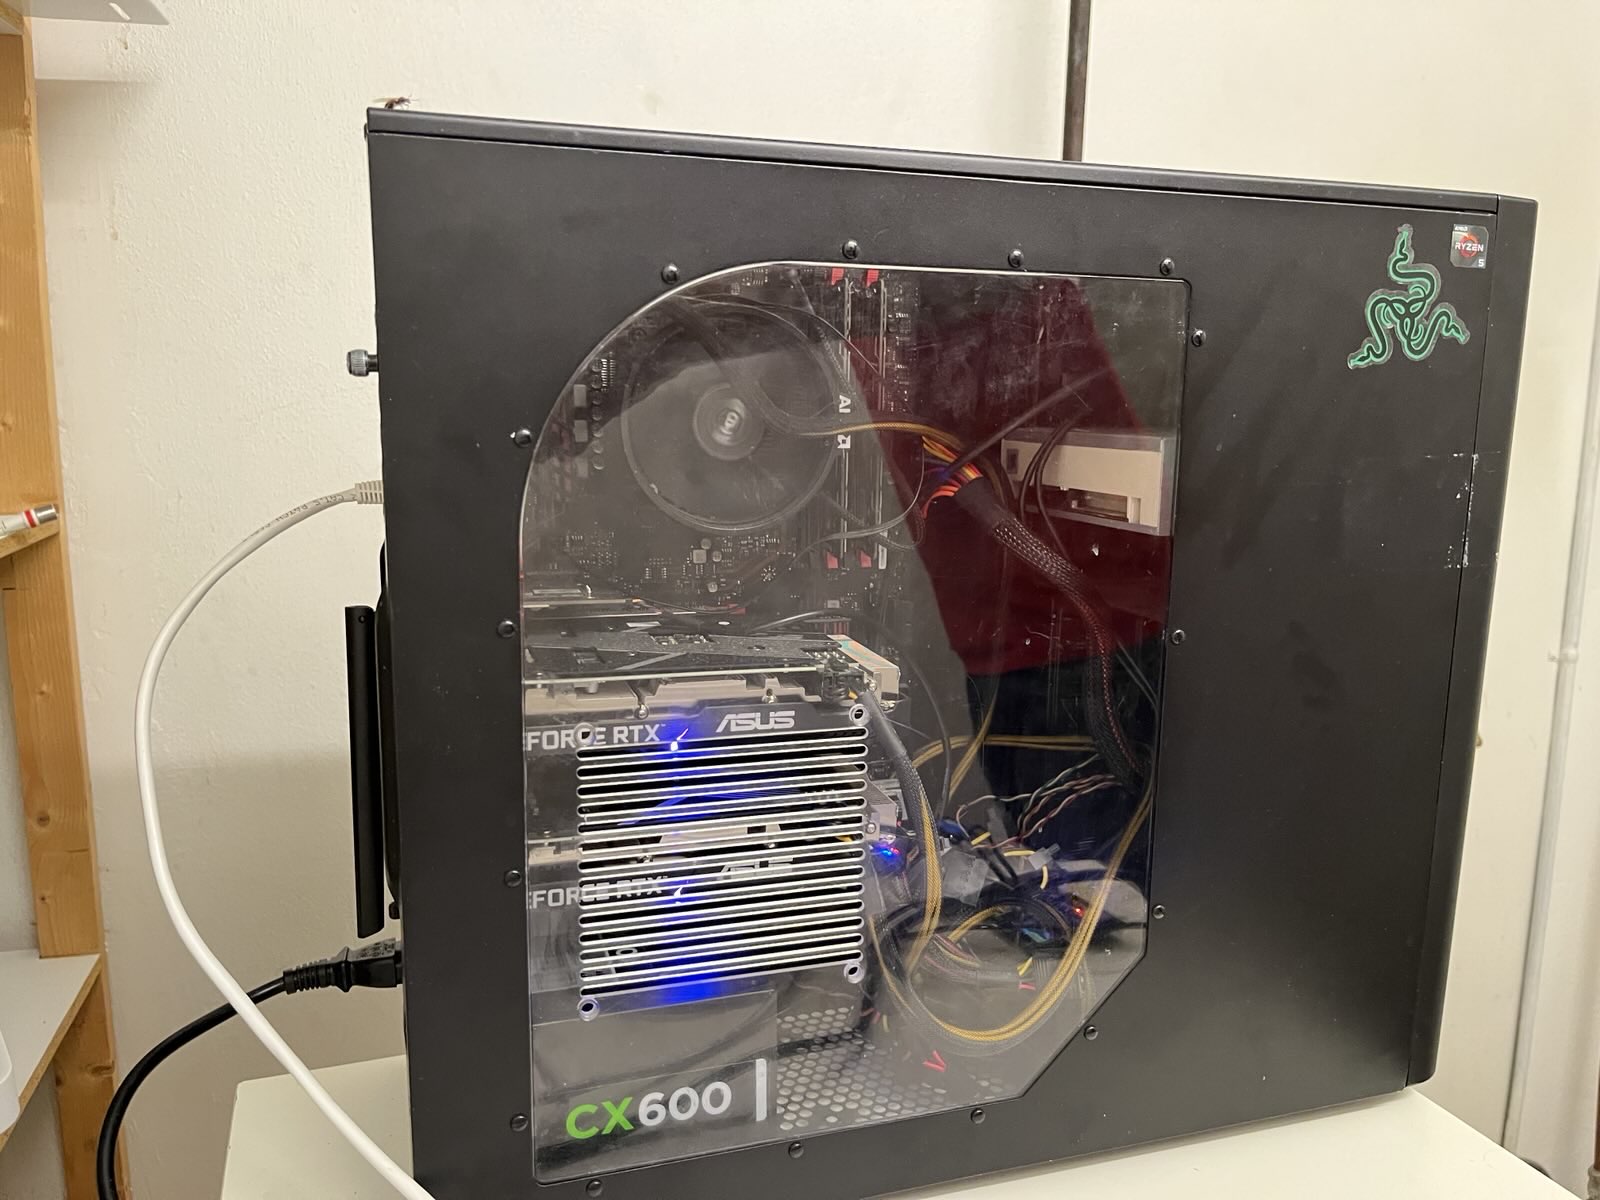
I ended up purchasing a second-hand PC with all the above requirements and then purchased two used RTX 3060 GPUs with 12 GB Vram each. The combined 24 GB of Vram is plenty enough for my use cases. In the future, this may be upgraded to either a 32 GB or higher.
The RAM capacity (16 GB) is somewhat low for this use-case and I plan to upgrade it in the future.
The PC costed me 1500 NOK and 5200 NOK for the 2 GPUs. The total cost was 6700 NOK, which is equivalent to 666 USD. I am sure it is a fantastic price for the performance it offers.
To ensure stable internet connectivity, I choose to connect the server directly to a Unify router via the internet cable, which is part of a mesh network.
Although it would have been great to connect to the main router, my main router is placed up in the attic which can get quite cold in the winters. Also, I do not wish to go up there when I have to access this server.
Scheduling
I have a cron job set up to switch of the server at around 01:00 everynight. Simulatneously, a smart wi-fi switch off from the power socket. However, to wake up the server in the morning, I use a smart switch to power on and in the server bios, I set “wake on power up” setting.
This ensures that when the smart switch is in the on position, the server starts up.
This method to optimize power useage has been working without any hicups for several months now and I recommend this to anyone looking to get into home-labing.
Updates
As everything runs on an Ubuntu LTS 24.04, I have very litte proactive updates to make manually.
Combining Ollama and Open-WebUi
From the Open-Webui repository, I choose to run this configuration
sudo docker run -d -p 3000:8080 -p 11434:11434 --gpus=all -v ollama:/root/.ollama -v open-webui:/app/backend/data --name open-webui --restart always -e OLLAMA_HOST=0.0.0.0 ghcr.io/open-webui/open-webui:ollamaTo keep this installation upto date, I use watchtower
sudo docker run --rm --volume /var/run/docker.sock:/var/run/docker.sock containrrr/watchtower --run-once open-webuiDocker exec
Offcourse, an LLM server should be able to fetch the newest open-source models. I do this via an easy ollama command.
sudo docker exec open-webui ollama pull gpt-oss:latestRemote access
In order to have acces to my LLM server outside my home network, I use Tailscale. Tailscale is an amazing technology which allows to create encrypted tunnels across devices.
My phone is also part of the this tailnet, which allows it to connect to my LLM server from any public internet network. Tailscale automatically updates to the latest version when I run apt update && apt upgrade ensuring minimal updating overhead.
Usage and experience
Overall, I am quite happy with how this server performs. I use this server for both machine learning tasks and LLM experiments. Since Github Copilot has an agent mode which can be configured with ollama, this server serves the models to VS Code when I need it.
I have also configured this server as the LLM provider in my Marimo notebooks.
I am looking forward to many wonderful evenings of exploring LLMs and machine learning on this nifty little server.